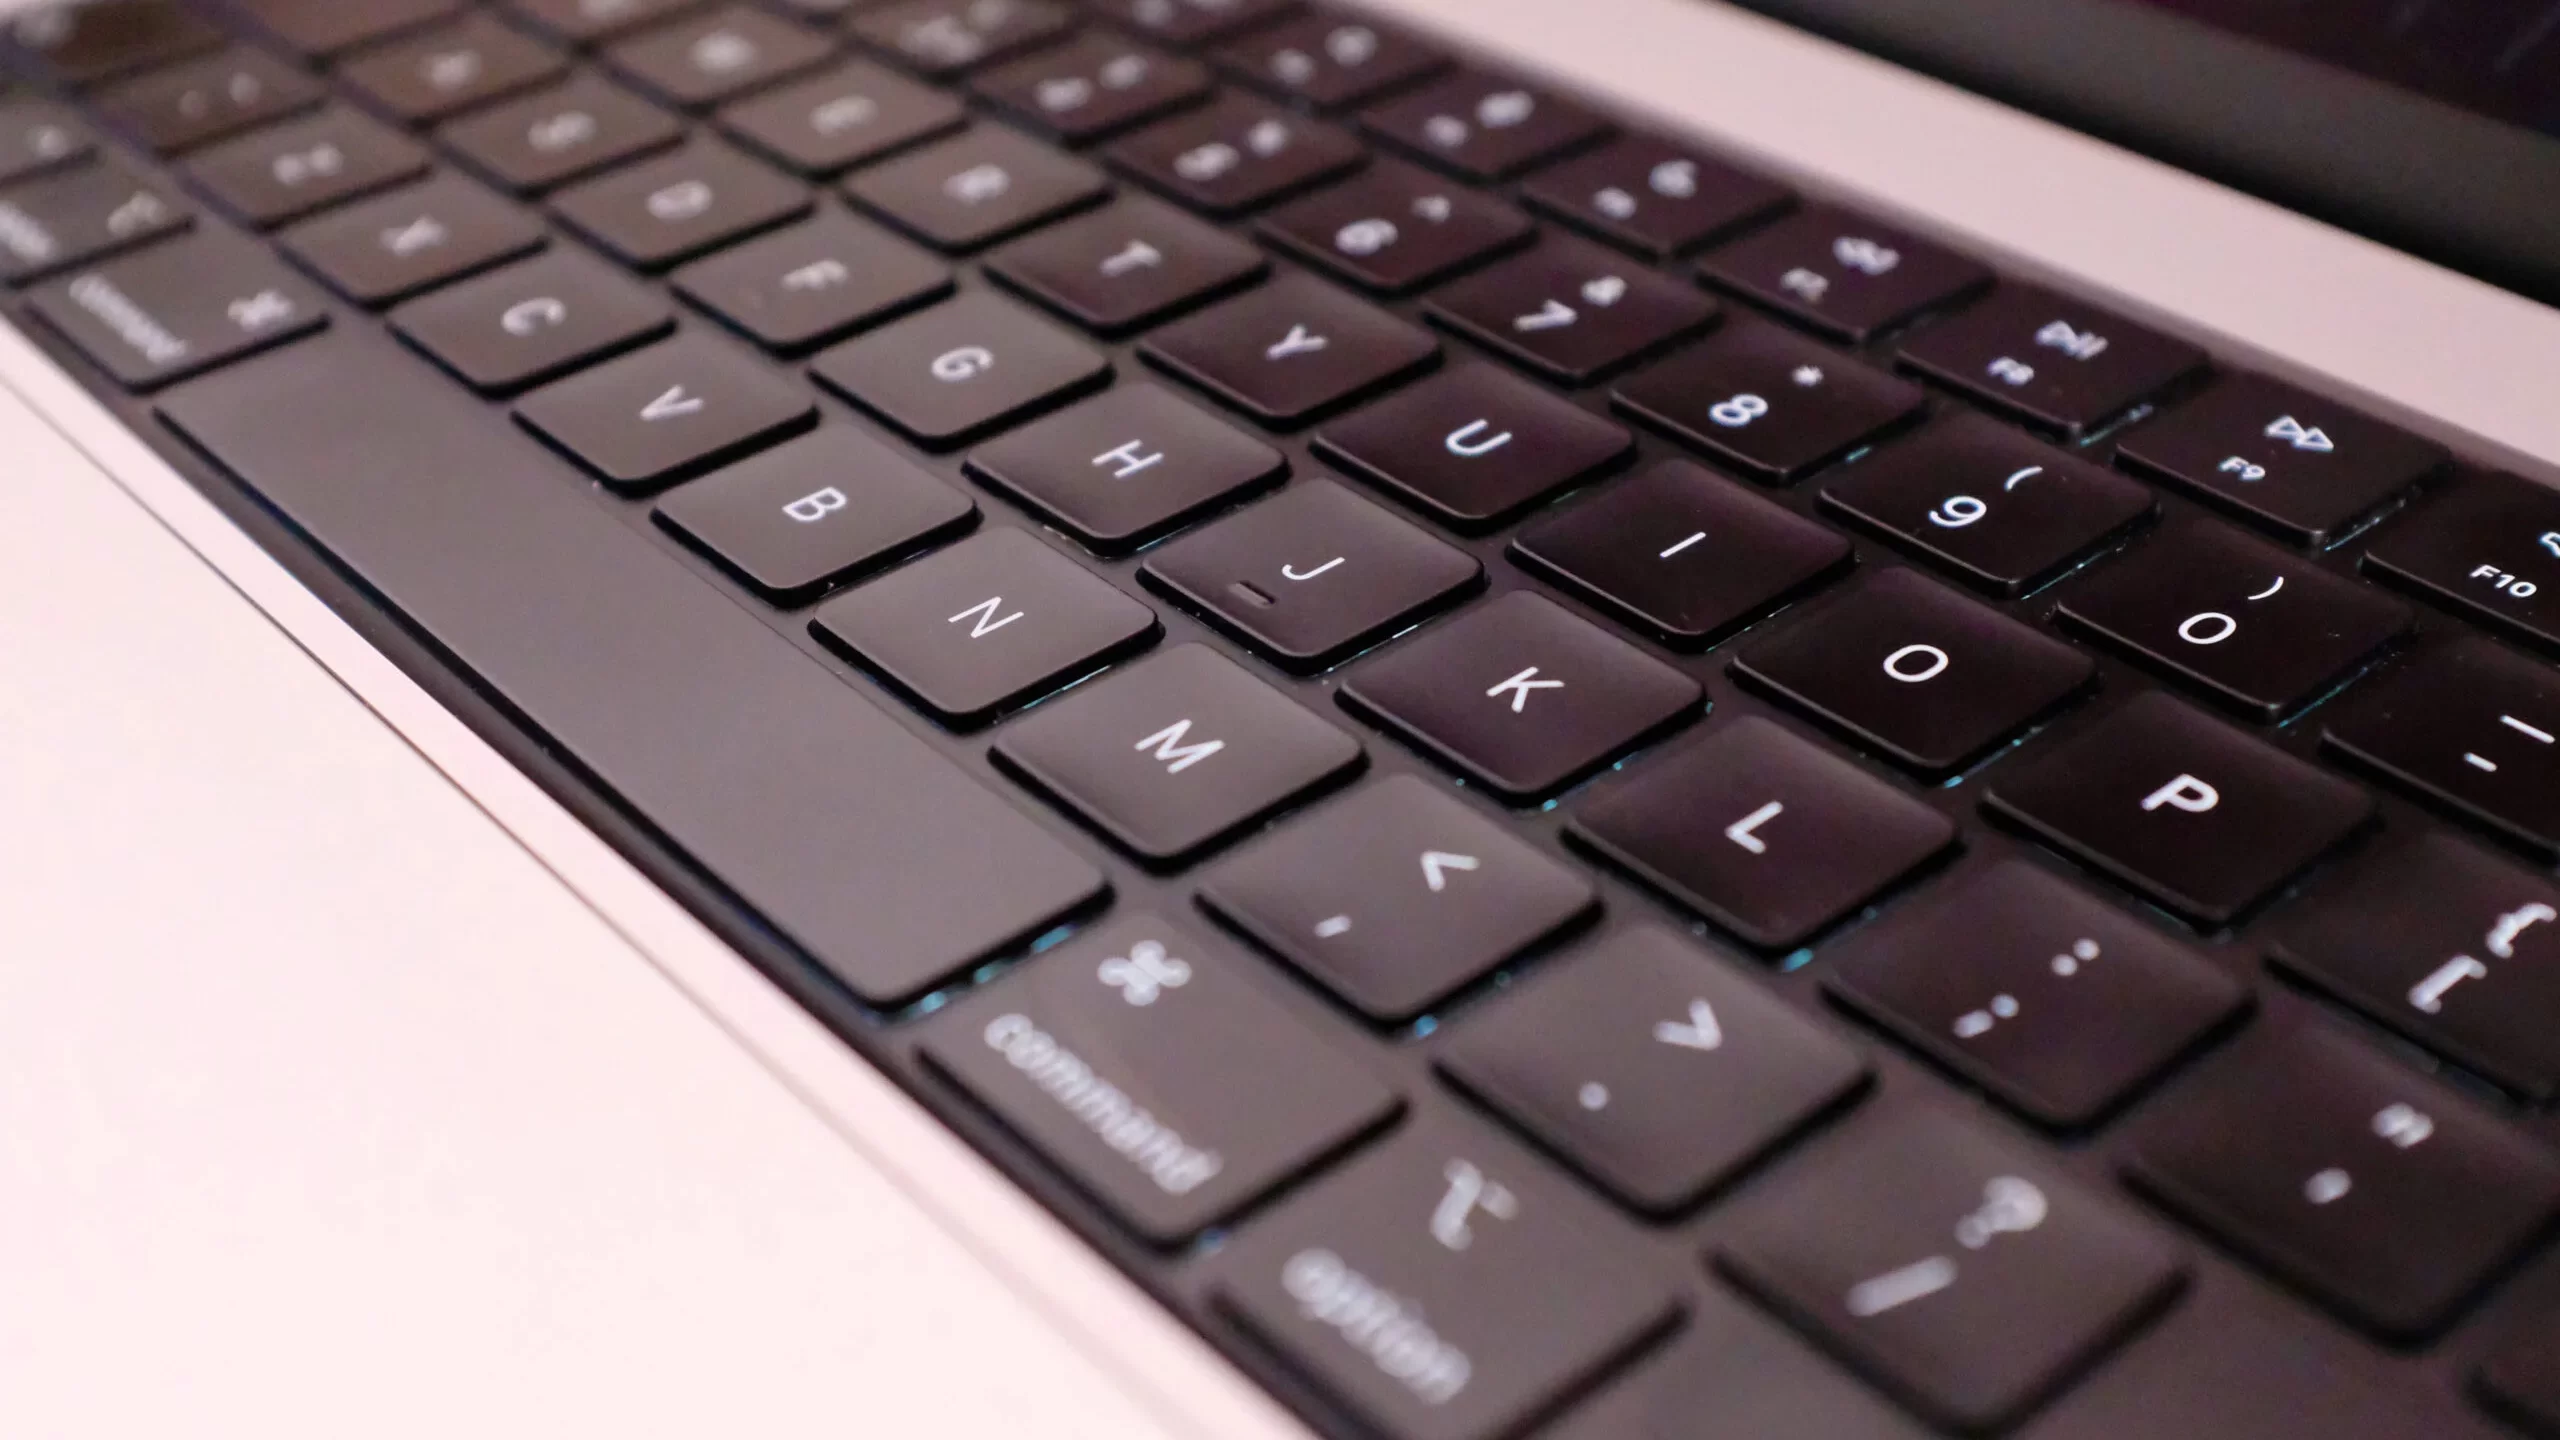
Laptop keyboards can sometimes experience some trouble when used daily over long periods of time. The most common being the auto typing problem and keys not working properly.
There are many factors that contribute to this problem, including dirt, dust, and liquids. But there are also some easy fixes you can make to ensure it doesn’t happen again.
In this article, we will discuss the possible reasons and how to fix your laptop’s keyboard auto typing and keys not working problem. There are a number of things that can cause the keyboard on your laptop not to work. It could be as simple as a loose connection, or dirt, or it could be something more complex like a hardware failure.
Here are some of the most common causes of laptop keyboard auto typing and keys not working:
- Dirty keyboard and/or keyboard layout
- Cracked or broken keys
- Moisture
- Mechanical failure (e.g., a stuck key, misaligned key cap, or faulty connection between keyboard and motherboard)
- Software malfunction (e.g., a misbehaving driver or an inactive virtual input device, such as an on-screen keyboard)
Solutions to Laptop Keyboard Auto Typing
Laptop keyboard auto typing or keys not working are common problems with most laptops, but it is easily fixable by following these few solutions tips. The great thing about laptop keyboards is that they are repairable by the user and can be done in less than half an hour.
Try out this tutorial on how to fix your keyboard if you are having this issue with your laptop.
Now, you must have known the possible causes of your laptop Keys not working. So let me explain how we can make it work again.
1. Remove the dirt
Dirt can accumulate on your laptop keyboard, causing it to have auto typing and keys, not working issues. There are a few ways to remove the dirt from your keyboard. The first way is to use compressed air or an air duster to blow the dirt off the keyboard. If you do not have an air duster, a can of compressed air will work just as well for removing dirt from your keyboard. You should also make sure that you never spray anything directly onto your laptop keyboard because this could damage it.
2. Clean moisture from a keyboard
Cleaning moisture from keyboard can fix the problem of auto typing and keys not working. If you spilled something on your keyboard, or it has been exposed to water, you can clean the keyboard and get rid of Moisture by following these steps:
- Unplug the power cord from the laptop.
- Remove the battery if there is one in your laptop.
- Clean off any obvious dirt or crumbs with a cloth.
- Turn your laptop upside down and shake it gently to remove as much moisture as possible.
- Flip the laptop right-side up and place it under a table lamp for several hours to dry out the keyboard.
- Make sure that both the bottom of your laptop and its lid are dry before plugging it back in.
3. Find and fix Mechanical failure
It’s hard to fix the mechanical failure. The best way to find out what is causing your keyboard not to type is by checking the connection between your keyboard and your laptop. First, check if there is any visible dirt or dust on the connectors. If there’s a lot of dust and dirt, then you will need to wipe it down with a dry cloth.
Next, check if the connectors are plugged in securely by gently pushing them together and unplugging them, then plugging them back in again. Then try typing on the keyboard.
Once you have figured out which connector is loose, you can use something like a paper clip or bobby pin to insert it into the gap between the connector and press firmly until the connector clicks into place. Afterward, try typing on the keyboard again.
Stuck keys also cause problems with typing. They can happen to anyone. It is possible that your keys are just stuck on something below the keyboard. To fix this, you will need to remove the keyboard from your laptop and find what is under
it that is causing it to get stuck in place.
4. Fix Cracked or broken keys
If you need to remove a broken key on your laptop, start by removing the keycaps with a pair of needle-nose pliers. You can also use a small flathead screwdriver and gently pry off the top part of the key cap, but be careful not to break it. Next, use the screwdriver or pliers to carefully pop out the broken pieces from underneath. To fix it:
First, use some tape or glue to make sure the plastic pieces are held together tightly.
Press them firmly for about 20 seconds so that the adhesive has time to set.
Now cut a piece of string that is slightly longer than your keyboard and tie one end to each side of the piece of plastic Thread these strings through both holes on either side, then pull tight until they meet in the middle.
The tension will hold them in place while they heal over time (usually two weeks).
Finally, put everything back together by reversing steps.
5. Fix Software malfunction
If you are experiencing a software malfunction, there are a few things you can try to fix the problem:
Reinstall your keyboard’s driver. Go to Device Manager and uninstall your keyboard. Reboot your computer and then reinstall
the drivers for the keyboard by following these instructions.
Change your power settings. In Windows 8, go to Control Panel > Hardware and Sound > Power Options > System
Settings > Choose what the power buttons do, then click Change settings that
Conclusion
Hope these methods will for you to solve issues related to Keyboard, which method worked for you please mention them to others in the comment box.